
so ,
Today we will talk in how to use it in simple steps
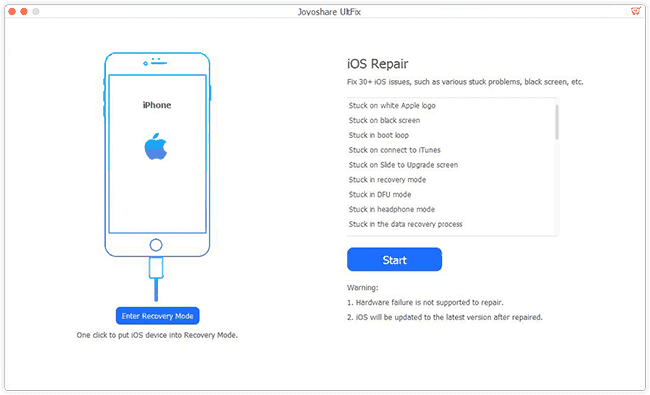
STEP 1: LAUNCH JOYOSHARE ULTFIX AND CONNECT IPHONE / IPAD / IPOD TOUCH TO MAC
After successfully installed Joyoshare UltFix on your Mac, simply open the program and then connect the iOS device you want to fix with an original USB cable to the computer. Then click the blue “Start” button to initiate the program.
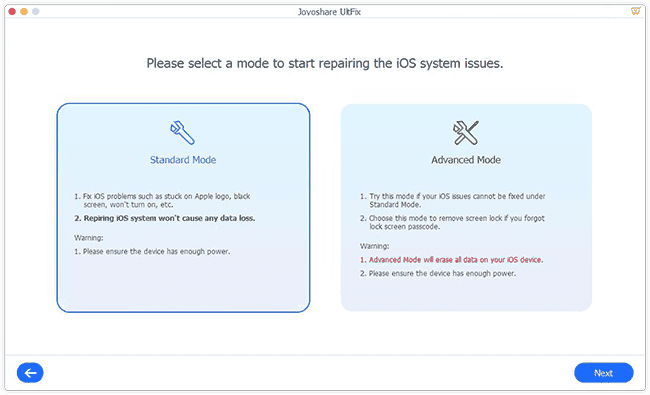
STEP 2: CHOOSE A RECOVERY MODE AND PUT IDEVICE INTO DFU / RECOVERY MODE
Next you’re offered with 2 modes. Standard Mode can fix almost all common iOS system issues such as iPhone stuck on White Apple logo, black screen, won’t turn on, etc and it will never cause any data loss; While Advanced Mode allows you to fix some serious iOS issues that can’t be fixed under Standard Mode or remove screen lock, etc but it will erase all data. Choose one according to your needs.
Then do as it said on the Joyoshare interface to boot your iOS device to the DFU mode or recovery mode, and then click the “Next” button to proceed.
Note: You can simply click the “Enter Recovery Mode” button on the main interface of Joyoshare UltFix to place your iOS device into the recovery mode in one click.
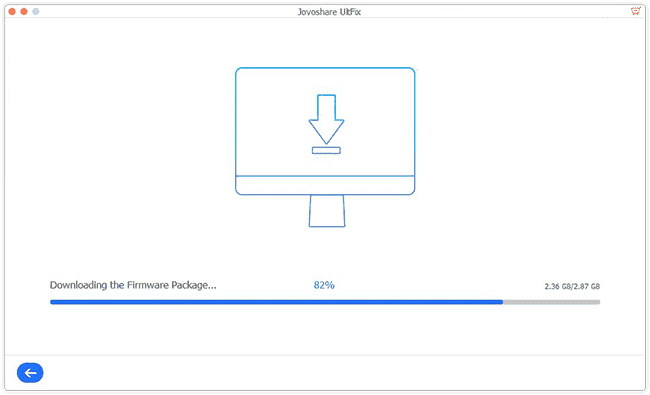
STEP 3: DOWNLOAD AND VERIFY FIRMWARE PACKAGE
After entering the DFU / Recovery mode, you can now confirm your device info like model version, iOS version, etc. Manually correct it if there is something wrong. Then press the “Download” button to download and verify the firmware package.
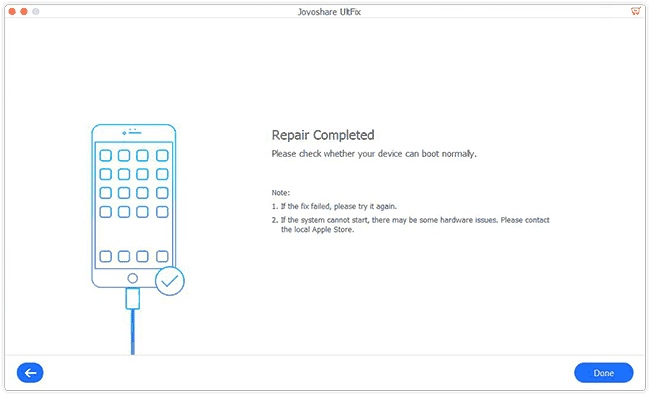
STEP 4: START TO FIX THE IOS ISSUE
Wait a moment until you see the download and verification of firmware package end. Next click the “Repair” button to let Joyoshare UltFix start fixing the iOS problem and your iOS device will work normally again a few minutes later.
Comments
Post a Comment